
Software Installation
First, download a zip file or clone the repository to your computer with git clone.
To run OCRA, you need three main files:
- A bit file for the FPGA
- A server running on the Red Pitaya
- A client (Python GUI) running on your local computer
The bit file is provided, all you need to do is copy it onto the Red Pitaya and cat it to /dev/xdevcfg. But first, you need to set up the
Vivado environment for the Red Pitaya.
Vivado Environment and Compiling
We followed Pavel Demin’s Pulsed NMR project in setting up ours.
- First, you need a Linux-based machine for
Vivado. If you have one already, simply install “Vivado HLx 2018.1: All OS installer Single-File Download” from the Xilinx page. If you need to set one up, follow these instructions. Note that you don’t need this particular development machine - Ubuntu 16.04 LTS in VirtualBox also works. - To compile code for the Red Pitaya, you need to use the ARM cross-compiler
arm-linux-gnueabihf-gcc. This is provided by Vivado. To compile the code, run:source /opt/Xilinx/Vivado/2016.2/settings64.sh arm-linux-gnueabihf-gcc -static -O3 -march=armv7-a -mcpu=cortex-a9 -mtune=cortex-a9 -mfpu=neon -mfloat-abi=hard /path/to/input.c -o output_file -lmThis will output a binary executable file that you can run on the Red Pitaya. Use this command to compile the server code.
Server
The server is a program in C that runs on the Red Pitaya. It listens for a client (the Python GUI) over an Ethernet connection. The server needs a static IP address for the client to connect to it. Set a static IP address following the Red Pitaya documentation.
Once you’ve done this, you can run the server. The file is mri_lab_rt.c in the server folder. We have also provided the compiled binary mri_lab_rt.
First cat the bitfile:
cat pulsed_nmr_planB_05192018.bit > /dev/xdevcfg
Now run the server:
./server/mri_lab_rt 60 32200
The first argument, 60, is the length of the 90 degree hard RF pulse in samples. The second argument, 32200, is the amplitude of the pulse (arbitrary units).
These are the optimal RF pulse parameters for our system.
Client
For the client, you will need Python3 and the following packages: pyqt5, matplotlib, numpy, and scipy. You can install these yourself, but it is easier
to use anaconda or miniconda. We’ve provided a conda environment (environment.yml) that already has the dependencies installed. To set up the environment in anaconda or miniconda:
-
Install anaconda or miniconda. Installation instructions are here. Make sure that the installer successfully adds miniconda to the
PATHandPYTHONPATHenvironment variables. - Create a conda environment:
conda env create -f environment.ymlThe name of the environment is in the first line of the yml file,
ocra_env. -
Activate the new environment.
Windows:activate ocra_env
macOS and Linux:source activate ocra_env
Make sure that the environment installed correctly by typingconda list. Among others, you should seenumpy,scipy,pyqt, andmatplotlib. - Test that the GUI opens by running
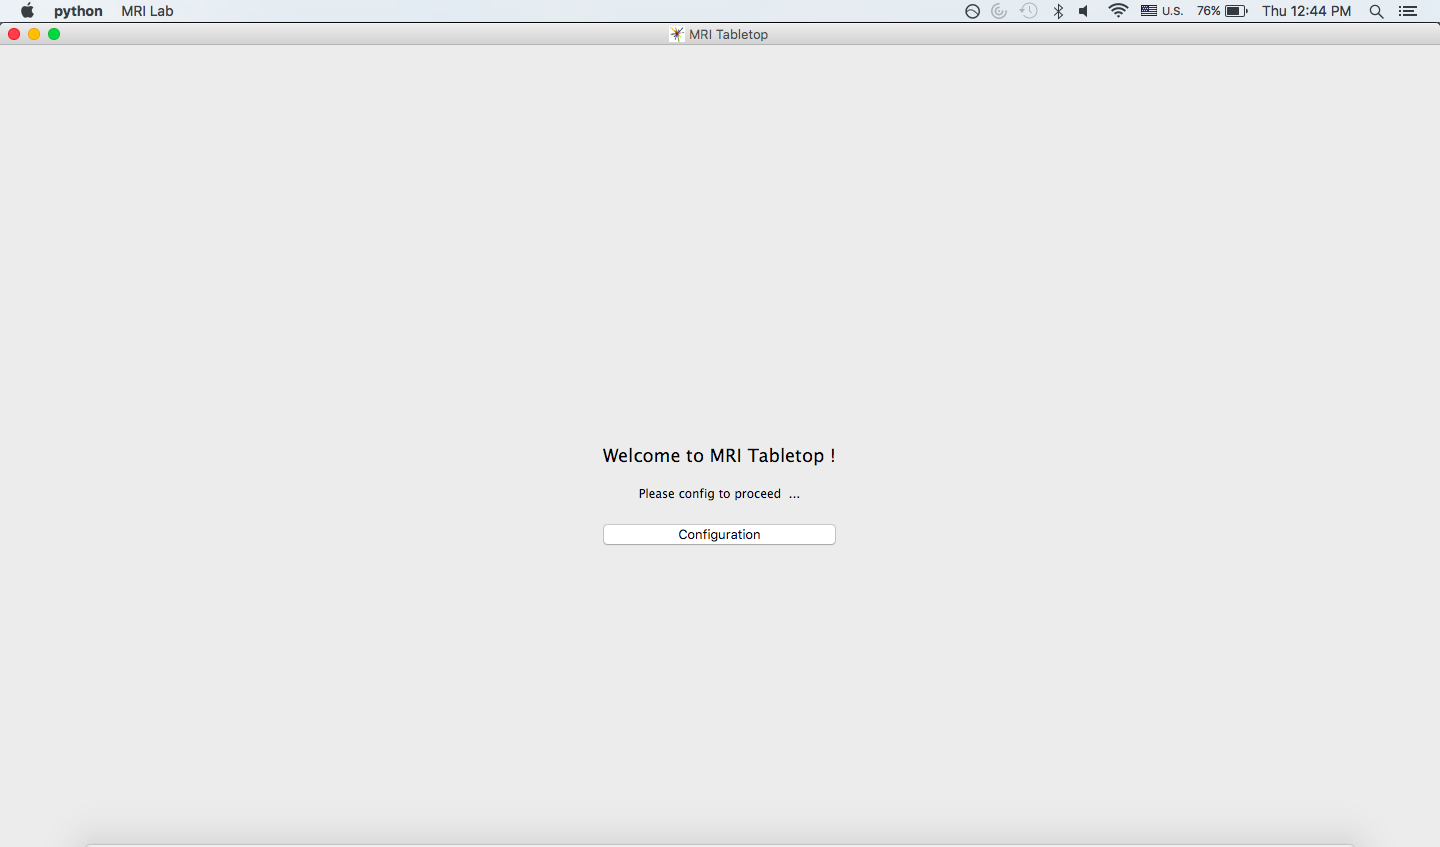
python runMRI.pyIf this doesn’t work, make sure that you’re in the correct directory. You should see a window like this:
- Test that the dropdown bar works. You should see something like:
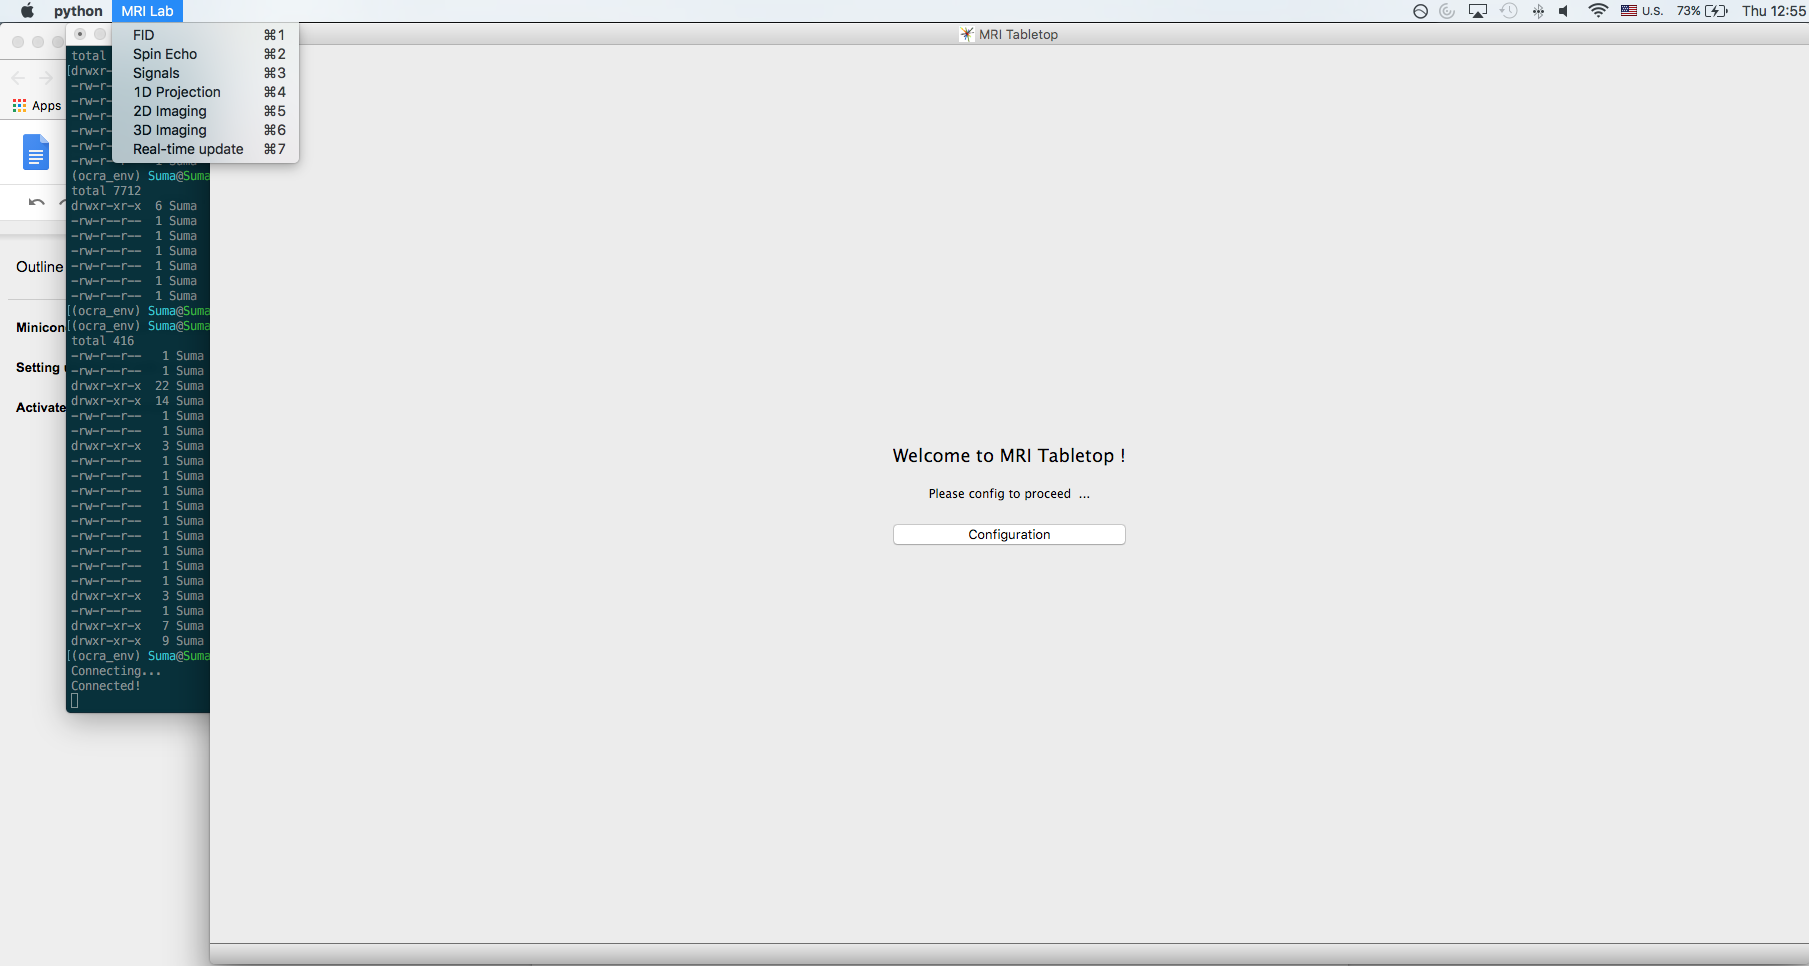
If you don’t, try clicking on the Terminal window running the python script first, then clicking on the dropdown bar.
Now you are ready to run the GUI!